CopperCube Screen Shader Extension
A downloadable asset pack for Windows
The Dynamic Screen Shader System is an advanced rendering tool for creating real-time screen effects in CopperCube. It works by rendering a texture from a specified camera and applying it to a designated screen mesh, allowing for dynamic post-processing effects.
Features
- Mesh Reconfiguration: Dynamically clears and rebuilds the screen mesh to match the required display size.
- Shader Flexibility: Supports both OpenGL and DirectX/HLSL shader syntaxes.
- Time-Based Rendering: Schedules texture updates at regular intervals for smooth real-time effects.
- File-Based Shader Loading: Reads vertex and fragment shaders from external files, allowing for easy customization.
- Shader Callback Support: Supports execution of shader callback functions, which can also be loaded from external files to dynamically update shader constants.
The render texture size can be dynamically adjusted in-game using CopperCube variables:
screen.width
screen.height
This allows real-time resolution changes, giving more control over shader effects.
Included Shaders
This package includes a starter pack of five shaders, each with its own callback function. These serve as examples and starting points for further customization:
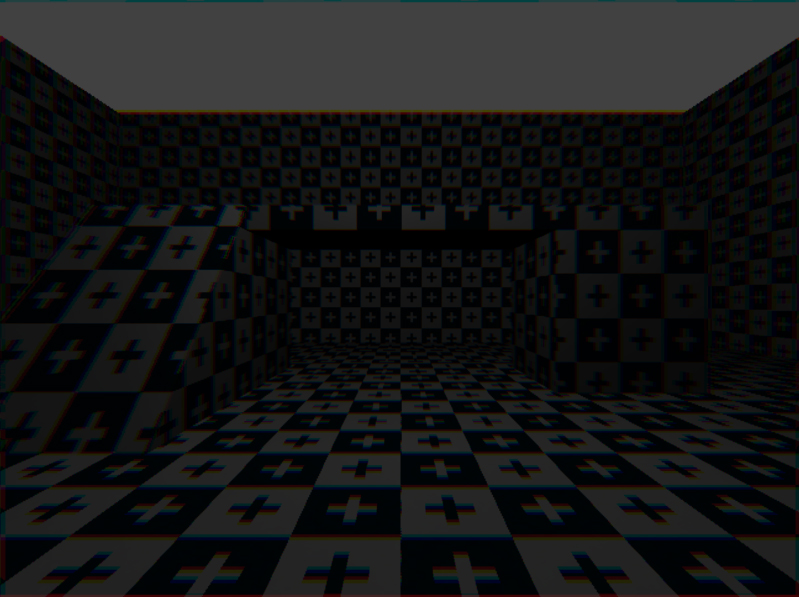
- Chromatic Aberration - Simulates lens distortion by shifting color channels.
- Color Depth Quantization - Reduces color depth for a retro aesthetic.
- Fisheye - Applies a wide-angle lens distortion.
- Motion Blur - Simulates motion blur effects.
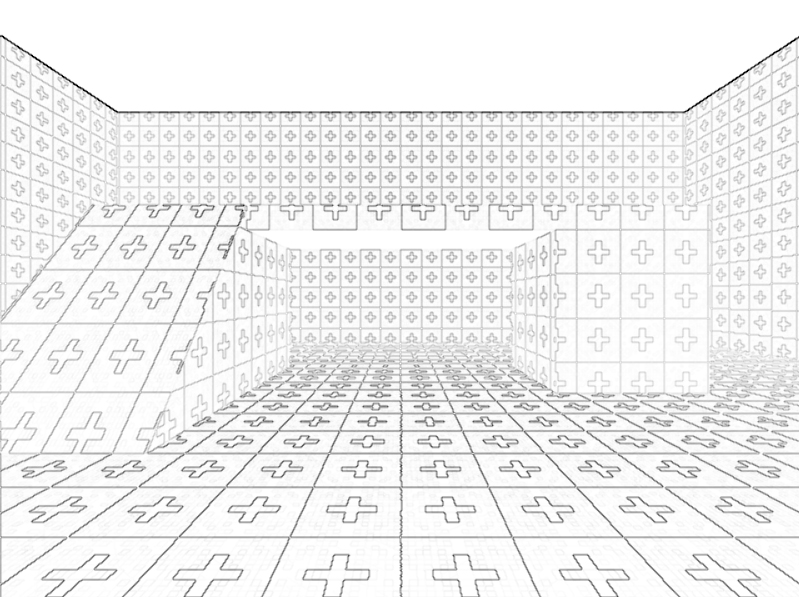
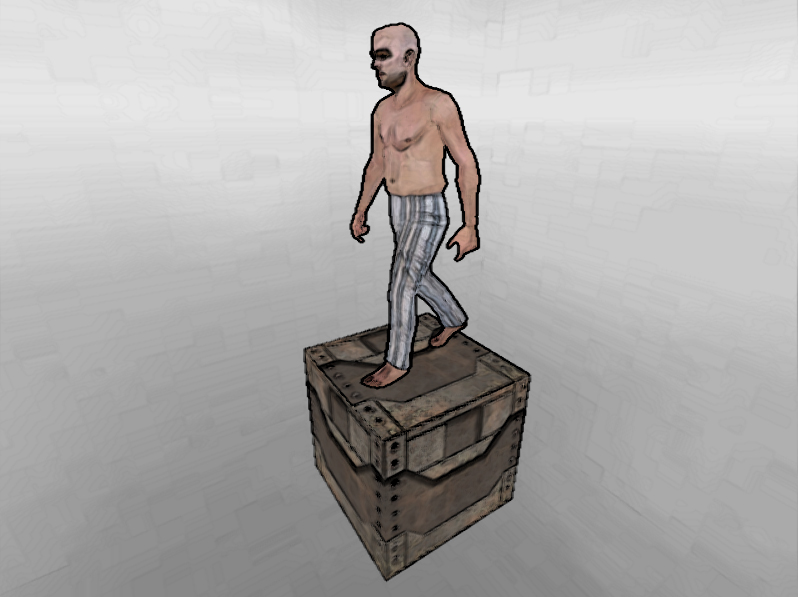
- Pencil Sketch - Converts the scene into a hand-drawn sketch style.
---------------------------------------------------------
---------------------------------------------------------
How to Set Up the CopperCube Screen Shader Extension
This guide explains how to configure the Screen Shader Extension in CopperCube using the new render texture system. Follow these steps to integrate post-processing effects into your project.
1. Adding the Screen Shader Action
- Open CopperCube and go to the SceneGraph Explorer.
- Select the Root node.
- In the Behavior tab, add the action "Before first drawing do something".
- Click "Add Action" and choose ScreenShader from the list.
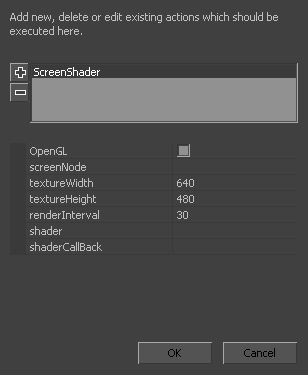
2. Configuring the Shader Settings
The ScreenShader action has several parameters:
- OpenGL – Enable this if using an OpenGL shader.
- screenNode – The object where the screen texture is applied (e.g., a simple plane).
- textureWidth & textureHeight – Set the resolution of the render texture.
- renderInterval – Defines how often the texture updates (e.g., 30ms for smooth performance).
- shader – Path to the shader file (e.g.,
shaders/screen.hlsl). - shaderCallback – Path to the JavaScript callback file for additional effects (e.g.,
shaders/screen.js).
3. Organizing Shader Files
- Place your shader and callback script next to your main CopperCube
.ccbfile. - The callback script can modify shader parameters dynamically during runtime.
4. Running the Shader in CopperCube
- After setting up, run the project to see the shader effect applied in real-time.
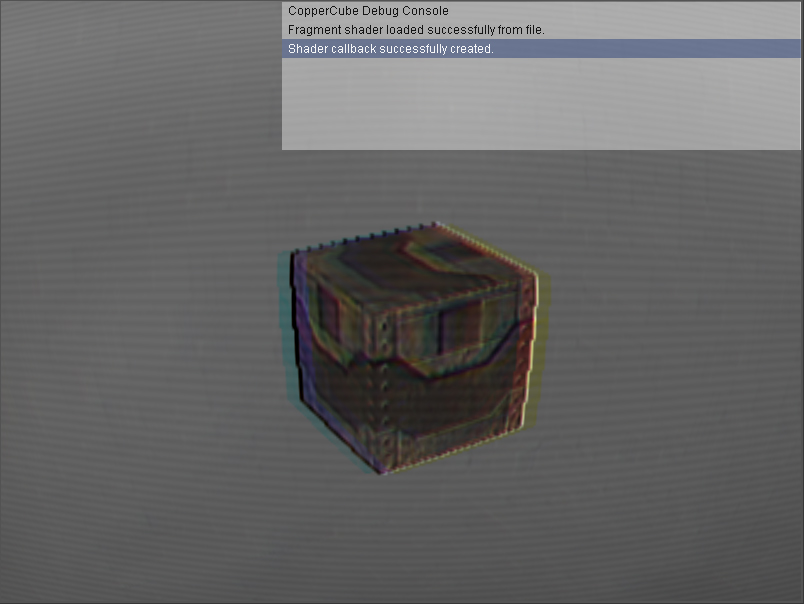
- The debug console should confirm the shader and callback were successfully loaded.

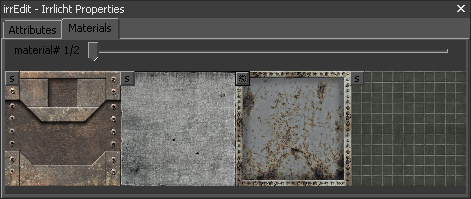
You can manually assign textures in the CopperCube editor, making it possible to use them in shaders.
This allows for effects like dithering patterns, overlays, or other static textures.
Now, you can access these textures in your HLSL shaders using:
sampler2D tex0 : register(s0); // Main render texture
sampler2D tex1 : register(s1); // Manually assigned texture
sampler2D tex2 : register(s2); // Manually assigned texture
sampler2D tex3 : register(s3); // Manually assigned texture
Download
Development log
- Active Camera UpdateApr 13, 2025
- Update: Custom Texture Support for Screen ShadersFeb 20, 2025
Comments
Log in with itch.io to leave a comment.
Can you provide a ccb example file. I'm doing something wrong. Thanks
You can download the VHS shader made for this extension - it comes with a demo project in CCB format, which should help you understand how to use the extension.
But anyway, describe the issue, and I'll do my best to help you solve it
Thanks for your quick reply. I found the problem. Had a custom binary installed and was preventing the shader extension from working properly. Thanks again. Love the work you are doing.
Thank
Excellent, thanks!
Thanks! I'd love to see it in your amazing games))
Thanks Sam! Your scripts are very cool, I will use! Thanks! :)
Great work Sam!
Thanks, glad to hear that)
Awesome as always! We all expect total engine conversion to dx12 next:)
LOL, in that case, I might as well start writing a DX13 library first 😂
Nice one!! Without having tested it, this surely sounds interesting! Looking forward to see what kind of creative stuff people will do with it.
Thanks, Interplay! I really appreciate the support! 😊 Excited to see what cool things the community will create with it. Let me know if you try it out, I'd love to hear your thoughts!